How to Make a DIY Sheet Mask Treatment at Home

We know you’re beyond familiar with mummy-skincare style, aka the sheet mask. Whether you go for ne plus ultra masks at 20 bucks a pop, or you scoop up cute fruity-themed options by the dozens at the local drugstore, we’re sure you’ve already got your faves.
But what about transforming your personal skincare arsenal into a DIY sheet mask?
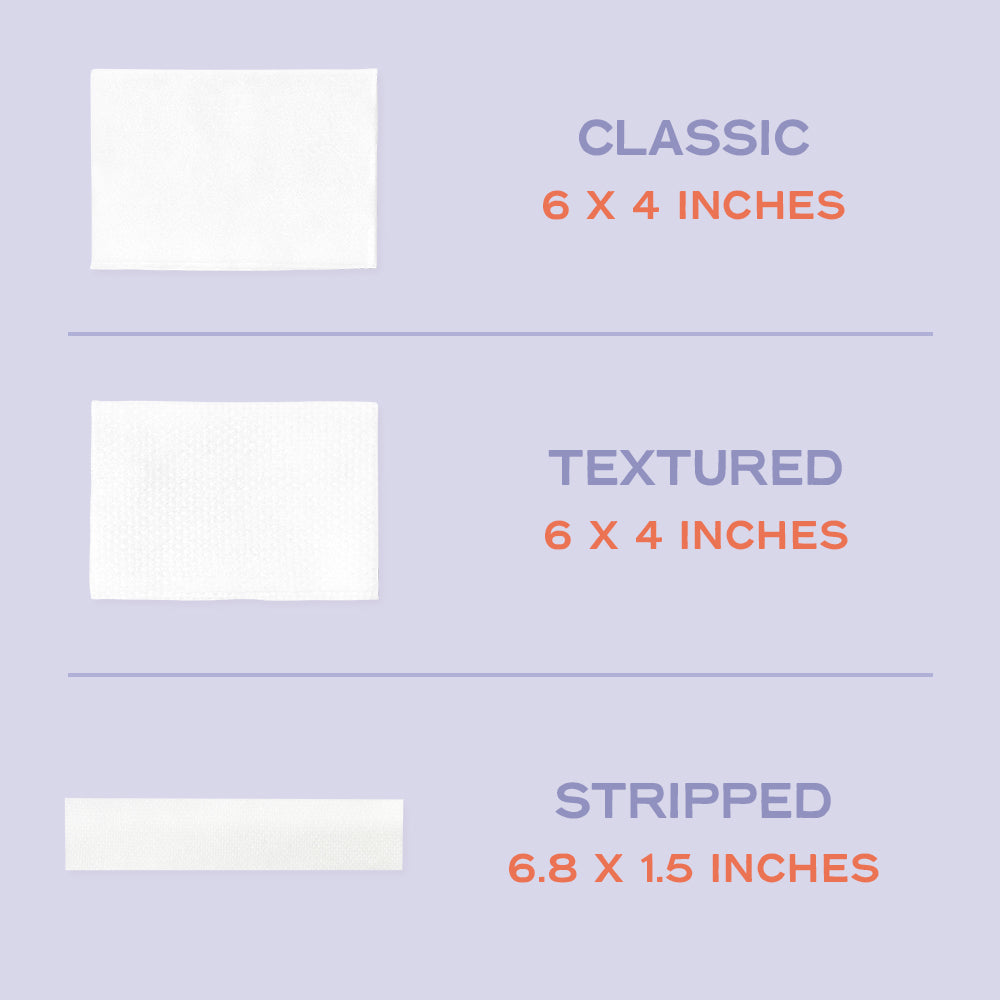
You asked and we delivered—after we learned our customers were trying to precision-cut correctly spaced eye holes out of our standard-sized products to make their own homemade masks, we came up with the next generation of our lint-free, biodegradeable cotton pads: say hello to NAKED COTTON Stripped. These elongated cotton strips are smooth and gentle to the touch, just like the sheet component of pre-packaged sheet masks, and made to fit around your face, no scissors required. All you need to do is arrange and fold.
After all, if you have a toner or serum you already love, a great way to get a little more oomph out of the product is by making your own face mask treatment at home. And now we’ve got you covered, literally! Depending on your skin’s current needs, grab your fave toner, essence, or serum, and let’s get started.
Where do I begin in making my own sheet mask?
Serum/essence/toner, meet NAKED COTTON Stripped. Using a clean, shallow tupperware, jar, or bowl, pour out a decent but not copious amount of your product (you can always add more), then soak your cotton strips one by one and apply them to your face (for exact instructions, skip ahead to the next ‘graph). If you have time, soaking the cotton strips all together and letting them chill in the fridge for 30 minutes to an hour makes for a cooling, extra-refreshing DIY sheet mask experience. For this, we’d recommend using a container with a cover so nothing gets into your product.
How do I fit my DIY sheet mask to my face?
As with many treatments, like gua sha or facial massage, you’ll want to start from the middle of your face and work your way out. Lay one strip centered over the bridge of your nose so that it also covers your cheekbones. Do the same across your forehead, then wrap one around your chin, with the top edge falling just under your bottom lip, so that the ends of the strip follow the curves up the sides of your face. Then do your folded sheets across your upper lip region and along the outer sides of your face.
How long should I apply the mask for?
It depends! We like to do a short, three-to-five minute application in the mornings, for a quick hydration and moisture boost. If you’re running low on time and only want to target a particular trouble area for a spot treatment, you can also soak a single cotton strip and lay it across, say, your nose and cheeks, to give them a little extra TLC before getting into the rest of your skincare routine, sunscreen, and makeup. In the evenings, doing a full face mask for ten to fifteen minutes is nice for a longer, more relaxed spa-style face treatment. Either way, your skin should feel smooth, dewy, and cared for by the time you’re ready to unwrap!